

Yes, I did it! I went for the old favourite: the Brother 1034D serger/overlocker! And very exciting it has been too. Okay, it clunks along with a fairly noticeable thump and the motor is no Rolls Royce specimen: a smooth ride this is not. But you know what? It works great and I couldn’t be happier so far for the budget-friendly price. I spent a couple of hours practicing threading, which makes me sound very diligent, but it actually took me a couple of hours to crack it after the threads broke the first time. I have it now though and have had no problems. It’s really not that bad: it was one tiny little thing that I’d missed.

So pretty, these seams!
Oh yes, and I managed to break one of the knives within the first few days. I simply ran over a pin, but it didn’t half give me a fright. The serger made a horrible noise and the needle was stuck in the plate – I thought I’d done it terminal damage. After consulting the internet, it appeared I had actually committed a common crime, so I ordered some new knives and put my project aside. Once they arrived, it took only a few minutes to fix. It is, thankfully, a pretty easy thing to replace and the machine appeared to be fine. Whew! I won’t be doing that again in a hurry.

A broken blade – argh!
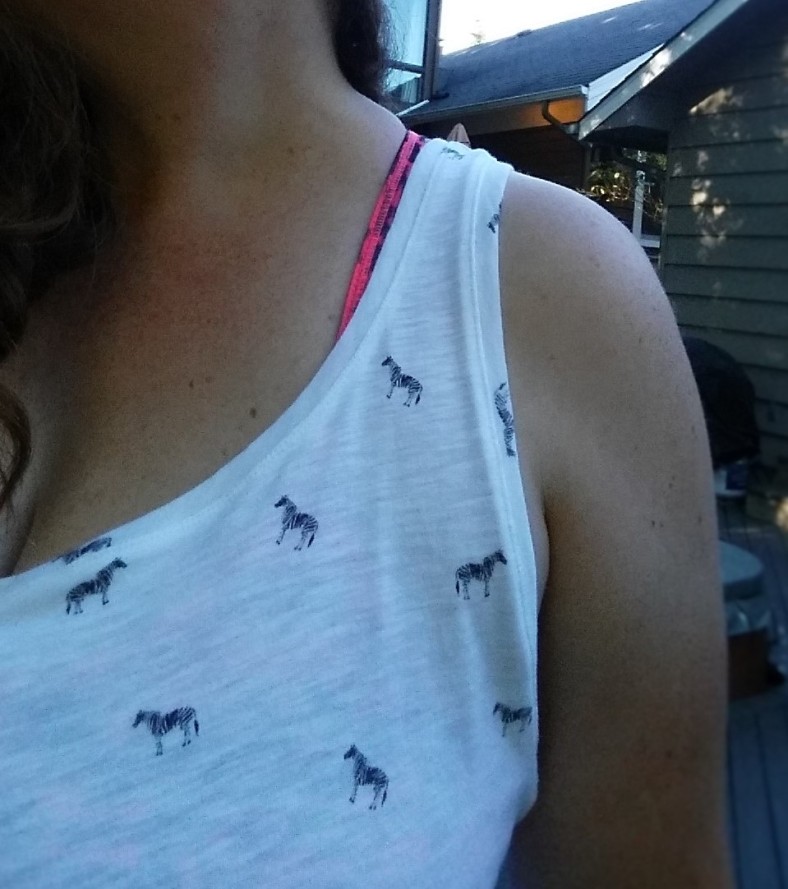
Anyway, I ran off a quick little tshirt for my son (the stripey red material above) and the serging part went great. The machined zigzag around the neckband…not so much. But hey, you can’t win ’em all. Then I spied that the Adventure Tank from Fancy Tiger Crafts was available on Creativebug and was constructed using a serger. Perfect! Without further ado, I printed the pdf, stuck it together and traced off a size XL. I decided to use a very thin $1/yard rayon jersey knit I got from my LA Finch Fabrics sale haul and see how it went. Plus, zebras. Cute

The class is quite short, maybe 20 mins in total, but this is a short, sweet and very satisfying sew. There is a racerback version, that I made, and also a muscle tank version. There are only two main body pieces and then a neckband and two armbands to finish off those raw edges. I serged the shoulder seams and side seams, which was straightforward. Next, I took the neckband and serged the loop closed, before halving and pressing the neckband lengthways (usual method). This was then layered with the raw edge of the neckline on the main body and the three layers serged together. Since you are pulling the neckband slightly to fit the neck hole, this can end up with me having very wobbly lines on a regular machine. On the serger it was so easy! The layers fed through beautifully and I got it on quite neatly.

Coming in at an angle to get the armband serged straight
This process is repeated with the two armbands to fit the looping armhole of the racerback. Once you finish serging you press the seam back on itself to give a nice neat binding effect (below). Since my fabric was so lightweight, it pressed beautifully, making easy work of the seams and hem.

The other new skill I practiced on this make was using a twin needle. That’s the great thing about simpler patterns – you feel like you can get stuck in with new techniques. I had never used a twin needle before and I must say it was surprisingly simple, thanks to the great video instructions. I don’t know what I was worried about. It’s basically just like threading a single needle twice (but don’t put the second thread behind the thread bar). Then the instructions asked you to “stitch in the ditch” with the right needle, which you can see below.

The right needle is lined up with the seam
Wow – it gives such a nice, polished result. I was really happy! The only thing that went wrong was that my fabric was swallowed a couple of times. I changed over to a walking foot with the twin needle and that seemed to solve the problem, as well as making the knit easier to feed.
 The hem comprised simply turning over the bottom by 1/2″ and then using the twin needle to secure again. And that was the tank finished! It probably took me around 2hrs total, which is a fast sew for me.


Now, I’m certainly not claiming this as a perfect sew. The straps are not equal and the sizing is not quite right. The main issue is the droopy armholes. You can see it best from the back below. This may quite possibly be down to the lightweight material – I might have stretched it a bit when serging, plus it was waiting for my serger blades to be fixed, so may have stretched out of shape even before that.
However, since I was planning to use this as a workout top, over a sports bra, or possibly as nightwear, it really doesn’t matter much. I have thrown it in the wash to see if it recovers any.
EDIT: It’s now the next day and I’m happy to say that the wash did its thing. The armholes are back in their rightful place, so it must have been the fabric. Therefore, the sizing is now fine! (Note: it’s also a little shorter than the pics as well).

Overall, this is a fun and easy sew, which results in a solid tank for layering up over summer. I recommend it!

Looks cute and breezy! I got the same fabric from the sale haha can’t wait to do something similar
LikeLike
Oh cool – wasn’t that sale something else? I seriously thought it was a mistake at first. Looking forward to seeing what you do with it! 🙂
LikeLike